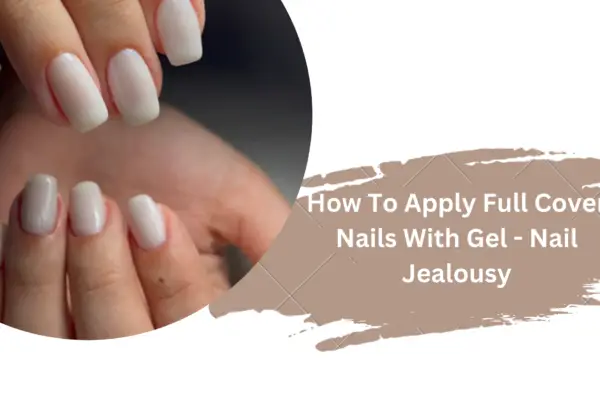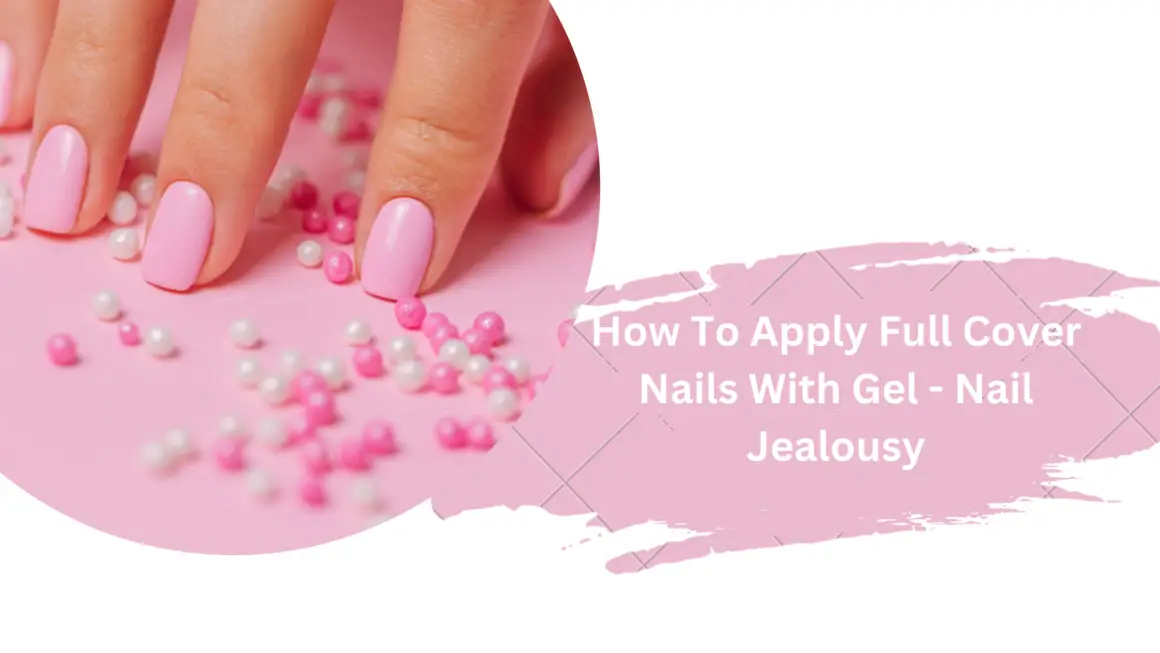
Creating a flawless manicure with full-cover nails and gel adhesive is a creative technique among both seasoned nail technicians and beginners alike. This method provides a durable and natural-looking finish, making it a popular choice for those seeking to enhance the strength and appearance of their nails.
In this piece, we’ll explore the essentials of full-cover nails, the step-by-step process of applying them with gel, and tips for ensuring your manicure lasts as long as possible.
Understanding Nail Tips
Nail tips are plastic extensions that can be applied to the natural nail to either enhance its length or cover imperfections such as ridges or unevenness. These tips are especially useful for individuals with weak or brittle nails, as they provide added strength and durability.
Full-Cover Nail Tips
Full-cover nail tips differ from traditional tips in that they cover the entire nail plate, not just the tip. This feature makes them an excellent option for those looking for a quicker and easier application process. The design of full-cover tips, which includes a built-in apex (the highest point of the nail) and thin edges, reduces the amount of shaping needed, making them ideal for beginners.
Choosing the Right Tips and Materials
When choosing full-cover nail tips, it’s essential to consider the curve of your nail bed. Full-cover tips are available in both c-curve (highly curved) and non-c-curve (less curved) options, allowing you to choose the best fit for your natural nails.
The material used for nail tips, including full-cover varieties, is typically acrylonitrile butadiene styrene (ABS). This impact-resistant material is durable without being brittle, making it perfect for nail applications. However, it’s important to protect your manicure from UV light and weak acids like vinegar, as these can degrade ABS over time.
Preparing for Application
Before applying full-cover nails with gel, it’s crucial to prepare both your nails and your workspace. Here’s how to get started:
Pick Your Shape:
Full-cover tips come in various pre-shaped options, such as square, oval, coffin, and stiletto. Choose a shape that suits your hand shape and lifestyle.
Prep Your Nails: Clean your hands with hand sanitizer to remove germs and excess moisture. Apply sunscreen to protect your hands from UV light during the curing process, and trim your cuticles and nails to prepare for the tips.
Buff and Prime: Gently buff the surface of your nails to remove shine and apply a dehydrator or gel primer. This step ensures the gel adhesive adheres properly to both your natural nails and the full-cover tips.
Applying Full-Cover Nails with Gel
Now that your nails are prepped, it’s time to apply the full-cover tips:
Apply Gel Adhesive: Place a small bead of gel adhesive on the underside of the tip where it will meet the natural nail.
Carefully align the tip with your cuticle, making sure it doesn’t touch the cuticle. Press the tip gently onto the nail, working from the cuticle to the tip to remove air bubbles.
Cure the Adhesive: Once you’re satisfied with the placement, cure the adhesive under a UV light for 30-60 seconds, or as recommended. If needed, repeat the curing process to ensure the adhesive is fully set.
Finish the Nails: After curing, remove any excess adhesive, buff the top layer of the tips, and clean off any dust. Now, your nails are ready for polish, stencils, or other decorative elements. For added durability, consider applying a clear polish base before adding color.
Maintaining and Removing Full-Cover Nails
With proper care, full-cover nails applied with gel can last up to 3-4 weeks. After two weeks, you may need to fill in the base of the nails with additional gel to maintain the look.
When it’s time to remove the nails, it’s essential to do so carefully to avoid damaging your natural nails. Soft gel nails can be removed using acetone, while hard gel applications may require a visit to the salon for professional removal.
Conclusion
Full-cover nails with gel provide a versatile and long-lasting manicure option that is both beginner-friendly and professional-grade. By following the steps outlined in this guide, you can achieve a flawless manicure that lasts for weeks.