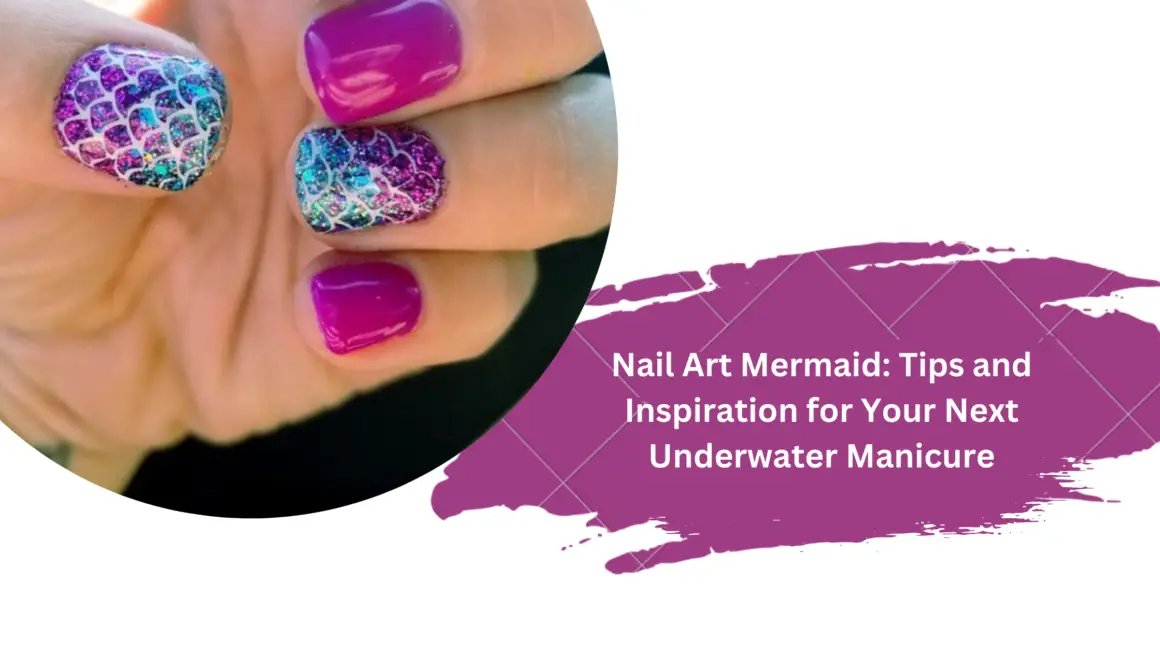
Mermaid-inspired nail art has taken the beauty world by storm, with many people opting for this whimsical and playful design. The trend involves incorporating iridescent and oceanic hues, as well as intricate designs that mimic the scales and fins of a mermaid’s tail. Nail art mermaid is the perfect way to add a touch of magic and fantasy to your everyday look.
The popularity of nail art mermaid can be attributed to its versatility and creativity. From simple designs featuring a single accent nail to more elaborate designs that cover every nail, there are endless possibilities when it comes to this trend. Additionally, the use of different shades and finishes, such as holographic and glitter, adds depth and dimension to the design. Whether you prefer a subtle or bold look, nail art mermaid can be tailored to suit your personal style.


Essentials of Mermaid Nail Art
Choosing the Right Colors
When it comes to mermaid nail art, choosing the right colors is essential. The colors that work best for this style are usually shades of blue, green, and purple. It is recommended to use a combination of these colors to create a gradient effect. Adding glitter or metallic shades can also add a touch of sparkle to the design.
Selecting Appropriate Tools
To achieve the perfect mermaid nail art, it is important to have the right tools. A nail file, buffer, and cuticle pusher are basic tools that are required. For more intricate designs, a nail art brush, dotting tool, and striping tape can be used. It is important to have a steady hand and patience when using these tools.
Understanding Nail Shapes and Textures
The shape and texture of the nails can greatly affect the outcome of the mermaid nail art. Long, almond-shaped nails are ideal for this style. It is important to keep the nails healthy and moisturized to prevent breakage and peeling. Matte and glossy finishes can be used to add texture to the design.
By following these essential tips, anyone can achieve the perfect mermaid nail art. With the right colors, tools, and understanding of nail shapes and textures, anyone can create a stunning and unique design.


Creating Mermaid Nail Art
Mermaid nail art is a popular trend that allows individuals to express their creativity and love for aquatic beauty. Here is a step-by-step guide to creating mermaid scales, incorporating aquatic elements, and adding finishing touches of glitter and gloss.
Step-by-Step Guide to Mermaid Scales
To create mermaid scales on nails, start by applying a base coat. Once the base coat dries, use a small brush to paint small, overlapping semi-circles in a gradient of colors. Start with a light color at the base of the nail and gradually transition to darker colors towards the tip. Use a dotting tool to add small dots of a metallic color to the center of each semi-circle. Finally, apply a top coat to seal the design.


Incorporating Aquatic Elements
To add aquatic elements to the design, consider using seashell stickers, starfish charms, or small pearls. Apply them to the nails using tweezers and secure them with a top coat. Another option is to use a fine brush to paint waves or bubbles on the nails.
Finishing Touches: Glitter and Gloss
To add some sparkle, apply glitter to the tips of the nails or use a glitter polish for an all-over effect. Finish the design with a high-shine top coat to enhance the colors and protect the design.
With these simple steps, anyone can create stunning mermaid nail art. Experiment with different colors, shapes, and textures to make the design unique and personal.